Features Introduction Feature 1. Built-in common prescription library Feature 2. Custom medications Feature 3. Real-time inventory recording Feature 4. Staff permission settings Feature 5. Customized medical advice Feature 6. Customized receipts and certificates
The customized receipts and certificates feature in the system provides a more flexible and convenient way of financial management. This feature allows traditional Chinese medicine clinics to customize the format and content of receipts according to their specific needs and requirements. Institutions can easily design and edit receipt templates in the system, including titles, company information, and item details.
Additionally, the system also provides the functionality of generating electronic patient certificates, reducing the hassle of paperwork and helping traditional Chinese medicine clinics improve work efficiency and customer satisfaction.
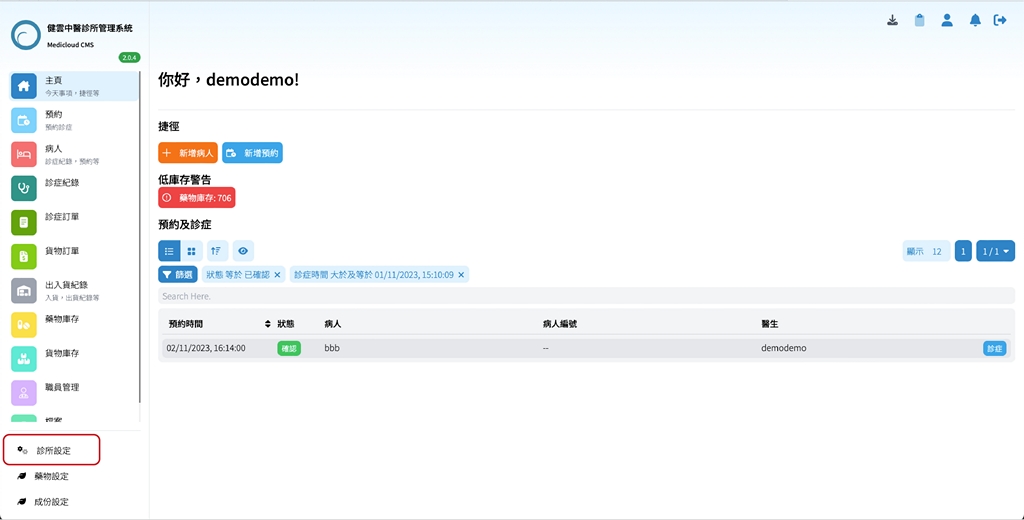
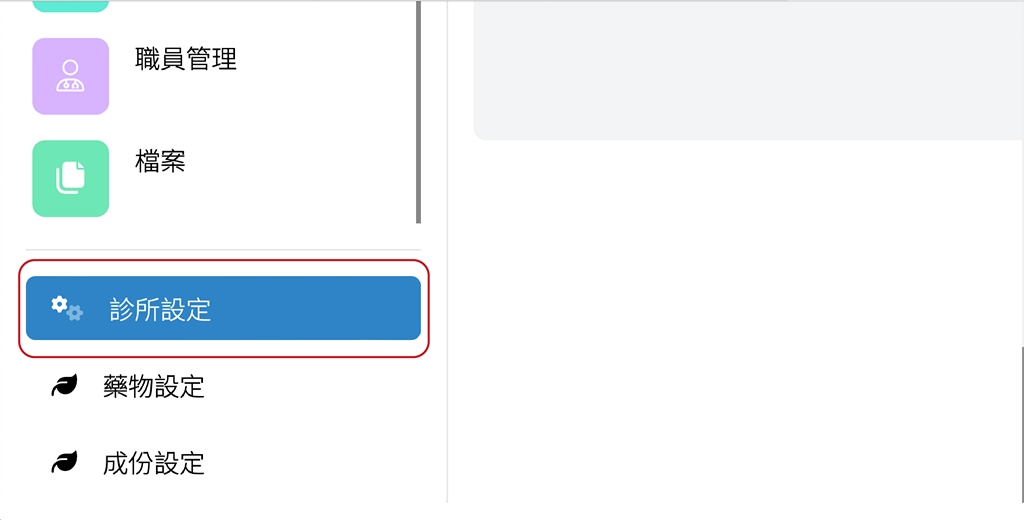
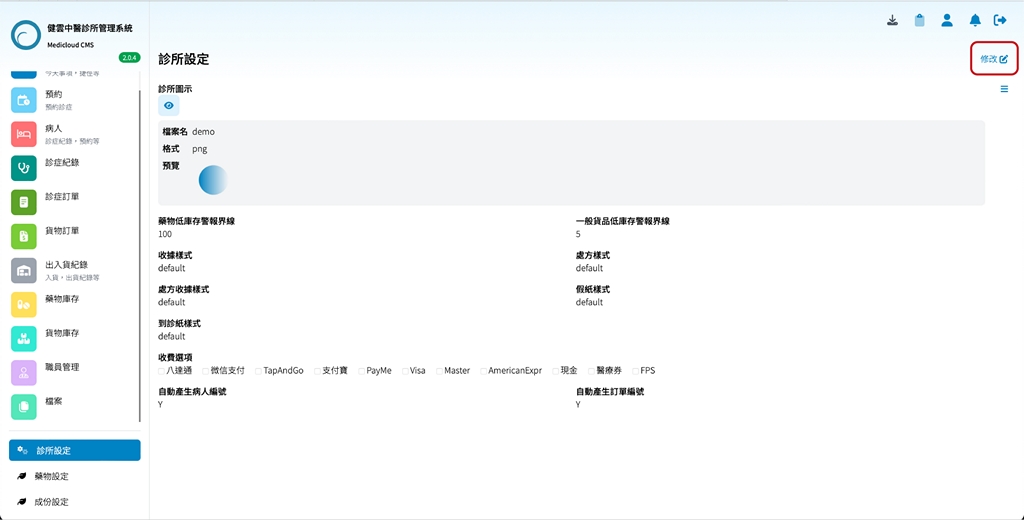
- Click on the “Clinic Settings” button at the bottom left corner of the homepage to enter the “Clinic Settings” page.
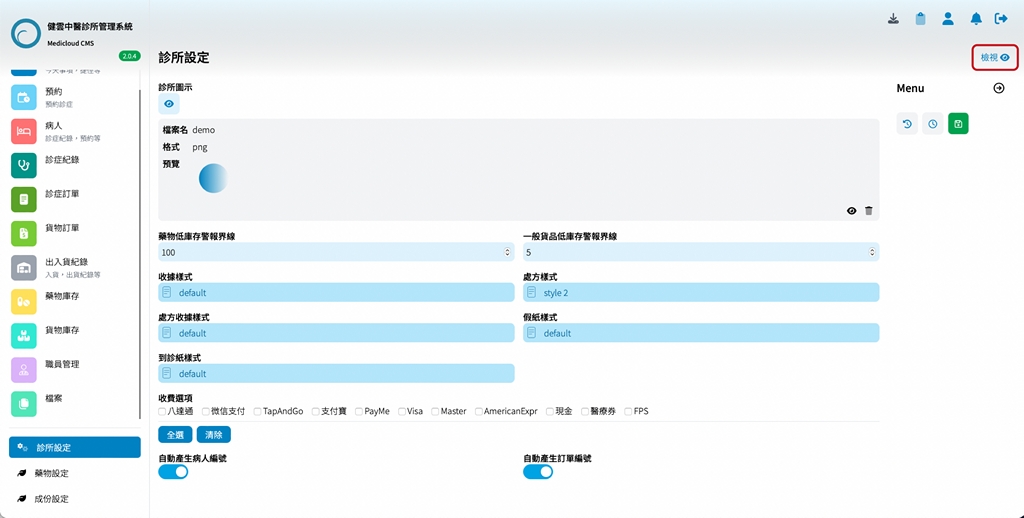
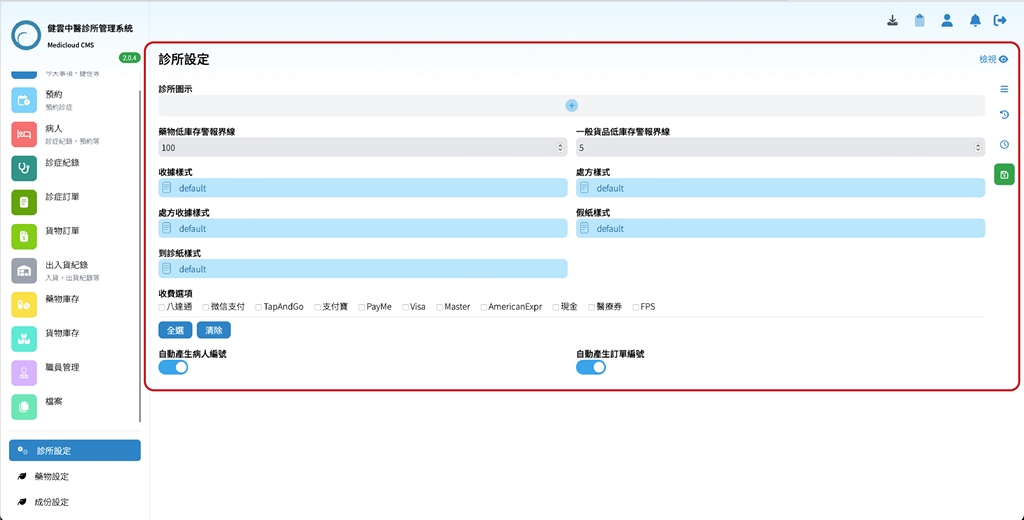
- After entering the “Clinic Settings” page, click the “Modify” button on the right side of the page.

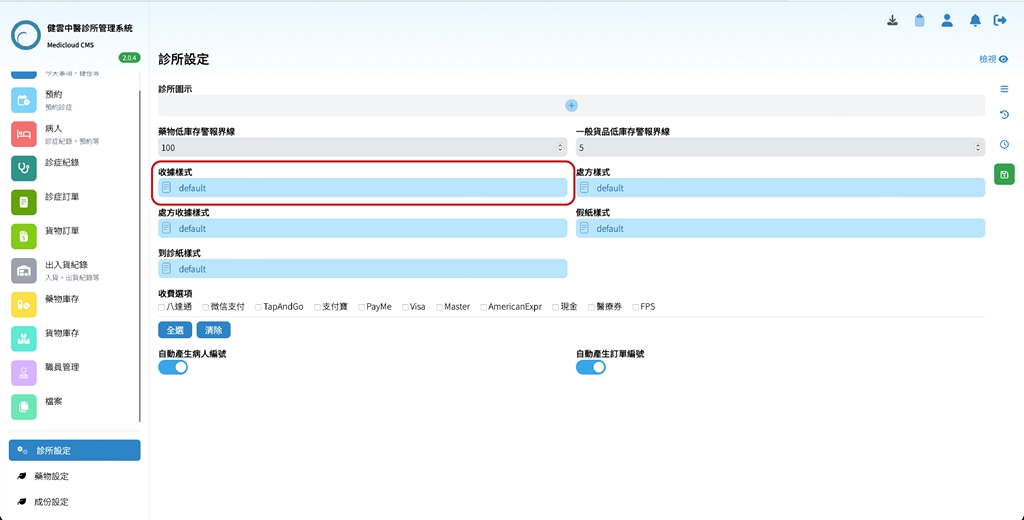
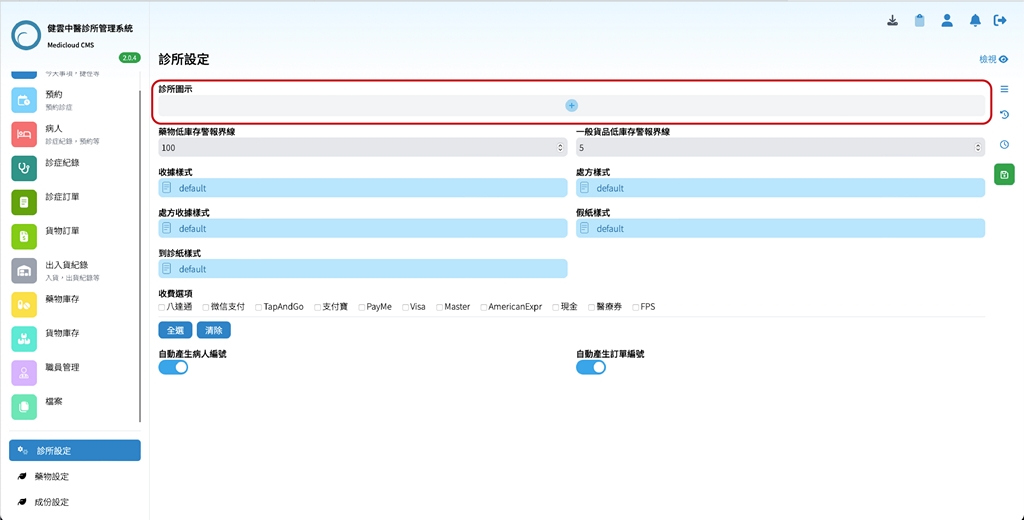
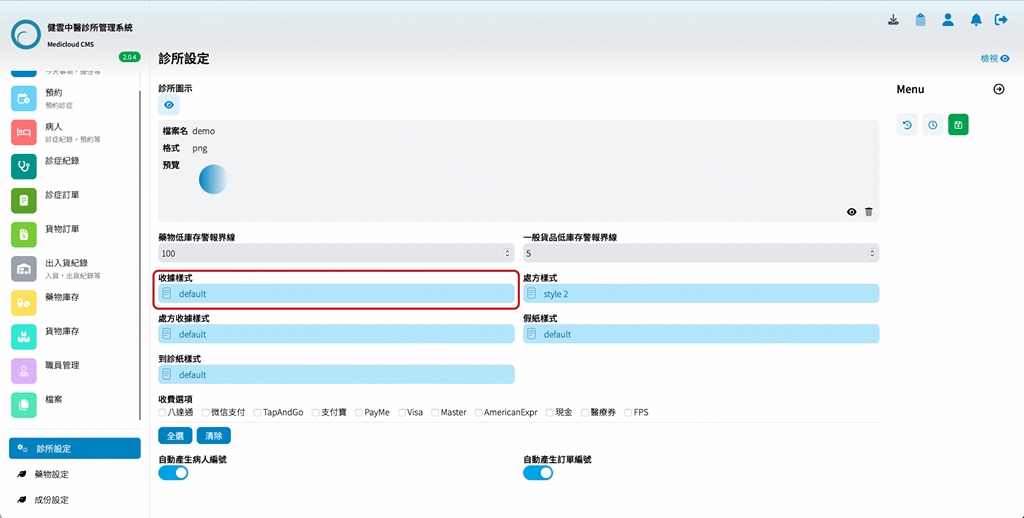
- Once in the modification mode, the page will change.
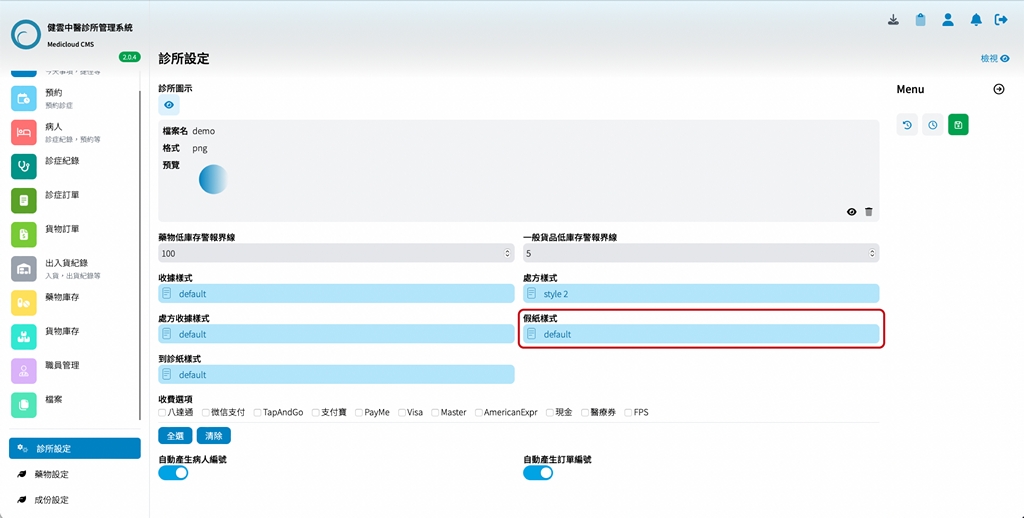
- Click on “Receipt Styles” to view or modify the receipt style being used.
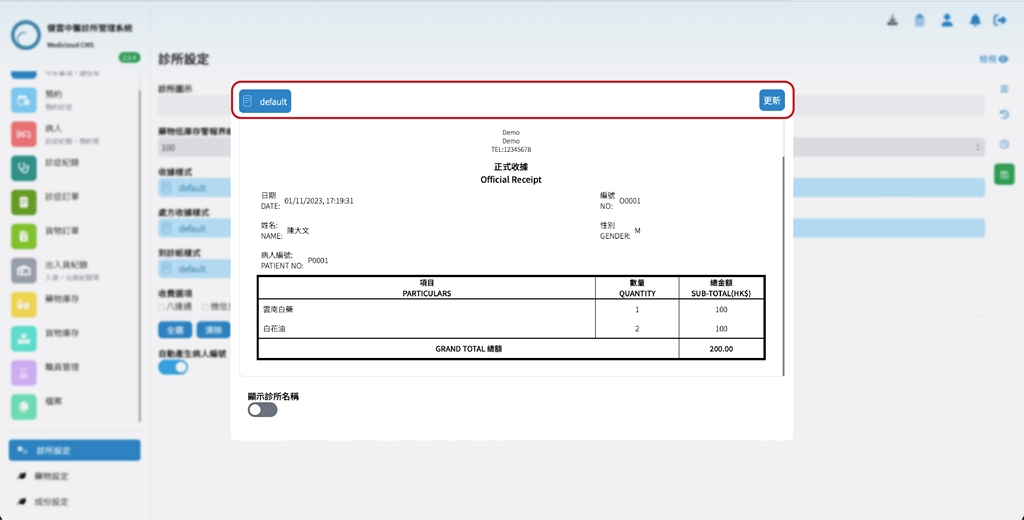
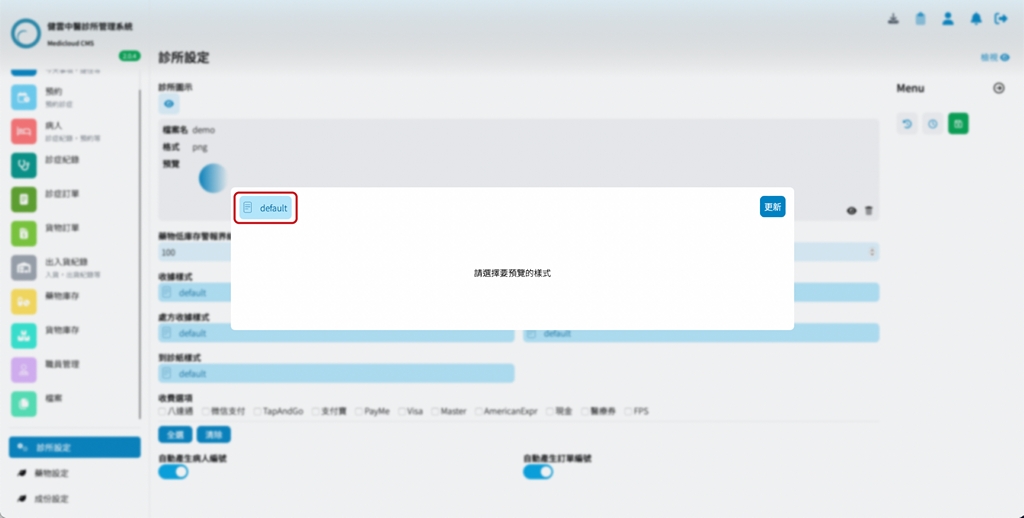
- After clicking, a window will pop up showing various receipt styles. You can click to preview different styles and then click the “Update” button in the top right corner to confirm the selected receipt style.
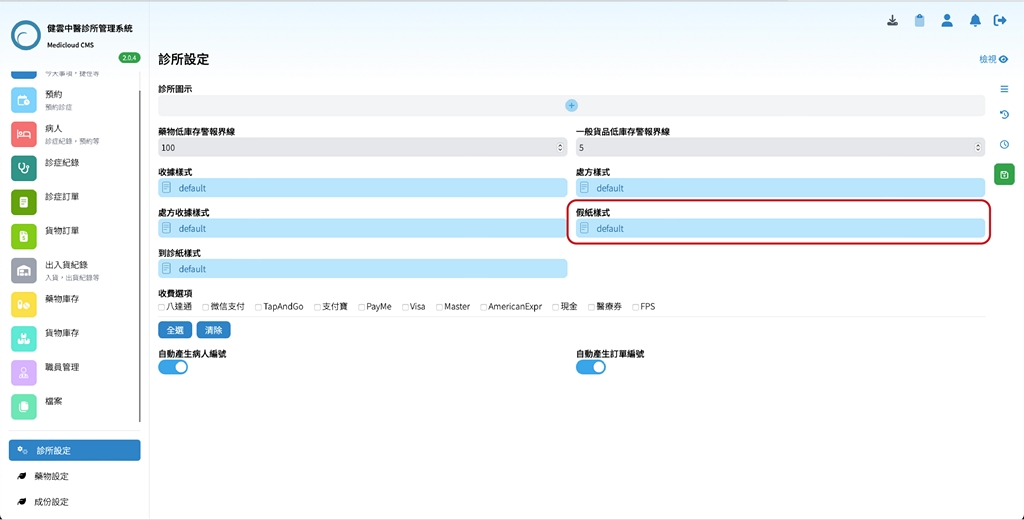
- Similarly, you can click on “Certificate Styles” to view or modify the certificate style being used.
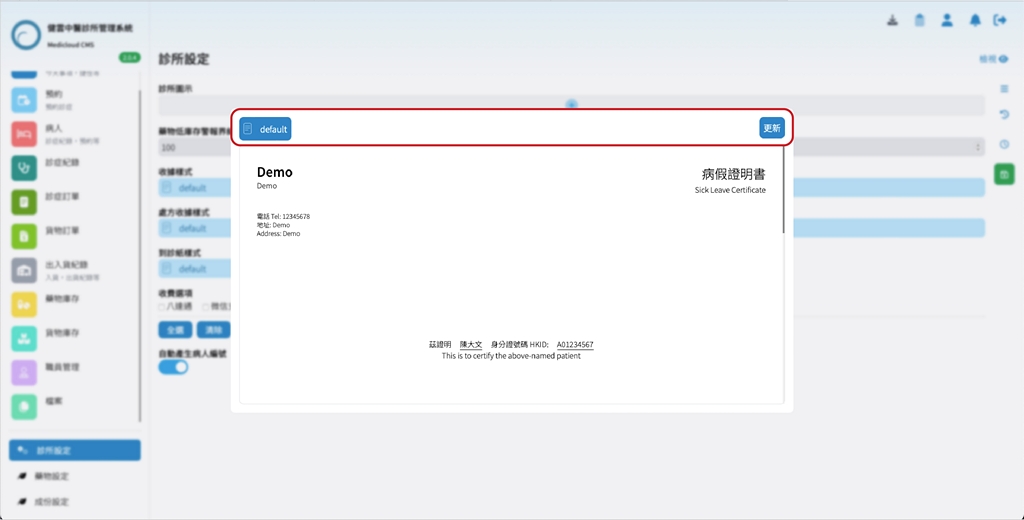
- After clicking, a window will pop up showing various certificate styles. You can click to preview different styles and then click the “Update” button in the top right corner to confirm the selected certificate style.
- Click the plus sign next to “Clinic Icon” in the menu to add a clinic icon.
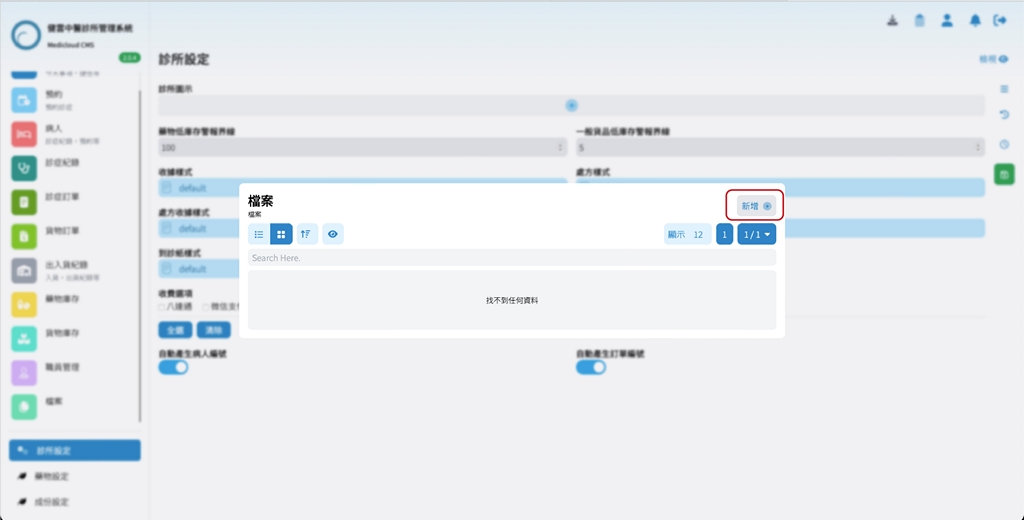
- After clicking, a “File” window will pop up. Click the “Add” button in the top right corner to upload the clinic icon.
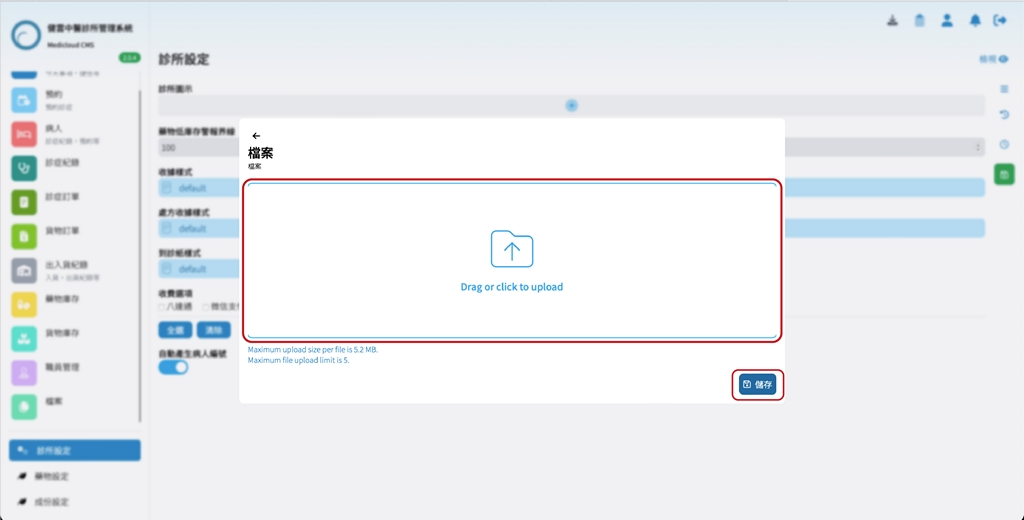
- Once clicked, follow the instructions to drag and drop or click to upload the desired clinic icon file.
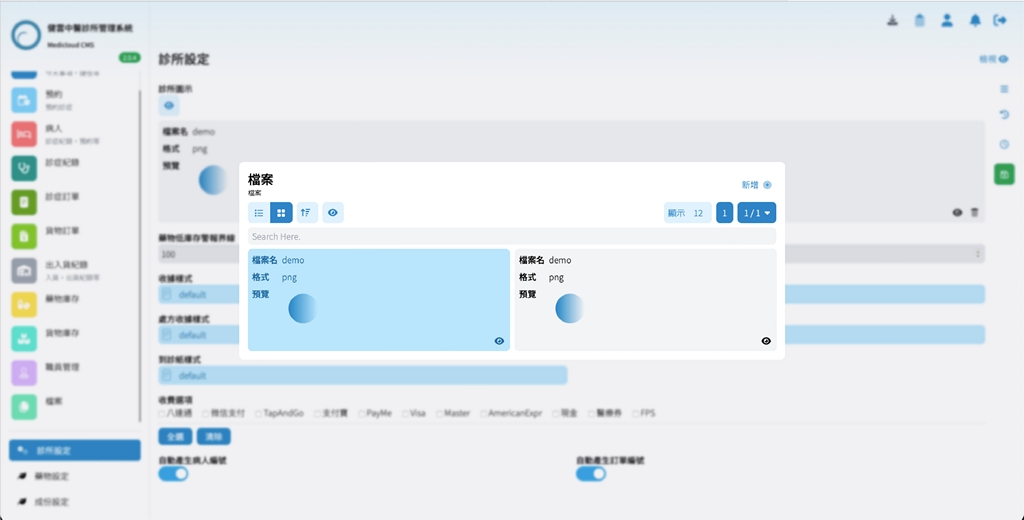
- After uploading, click on the desired clinic icon. The selected icon will be highlighted with a blue background. Then click on a blank area of the page to go back to the “Clinic Settings” page.
- Back on the “Clinic Settings” page, click the “Save” button on the right side of the page to save the changes.
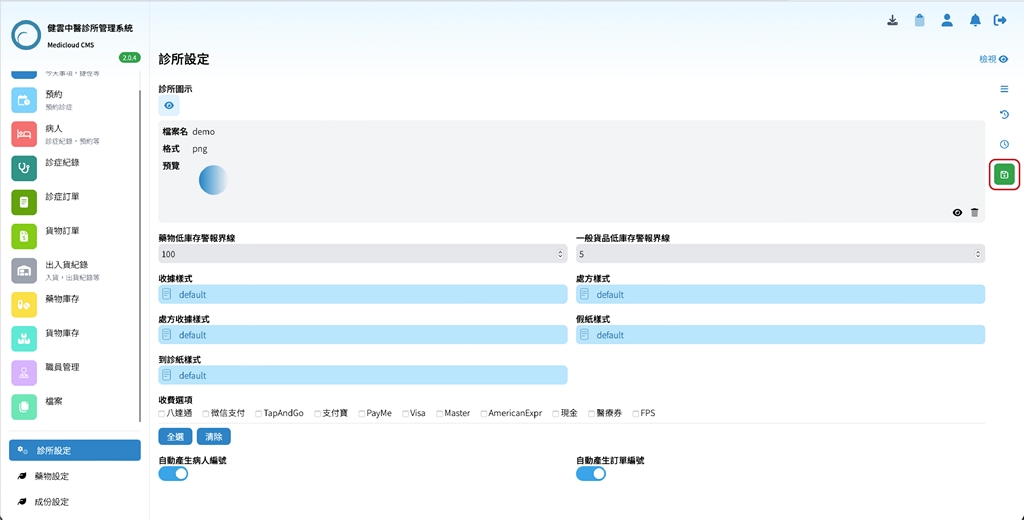
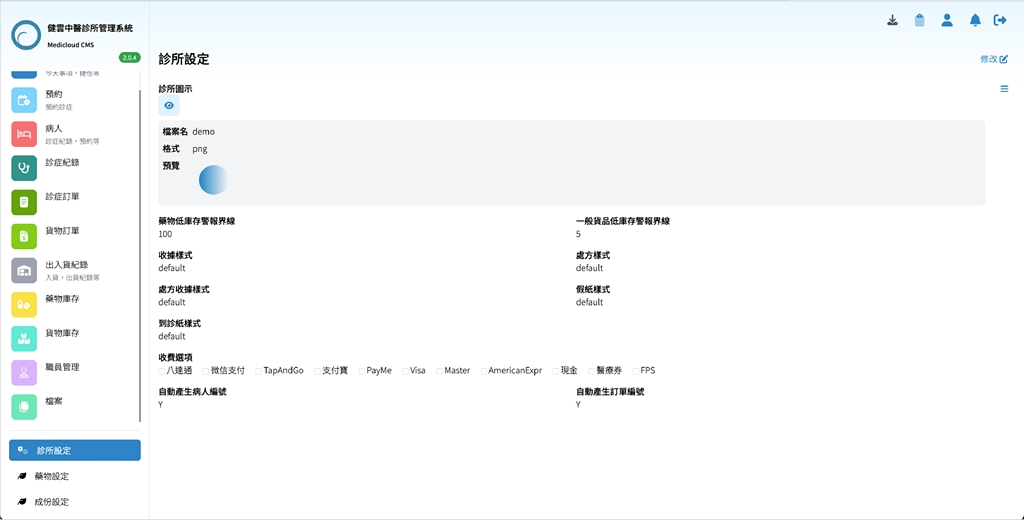
- You will then be redirected to the “Clinic Settings” preview page, and the operation is complete.
- After updating the clinic icon, you can click the “Modify” button again on the page to enter the page and confirm if the clinic icon has been updated.
- Once in the modification mode, click on “Receipt Styles”.
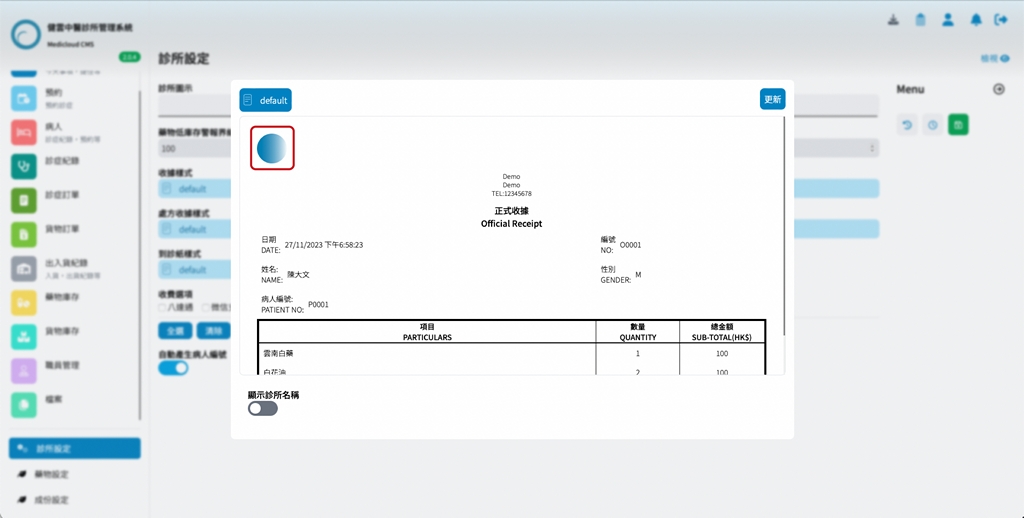
- After clicking, a window will pop up showing various receipt styles. You can click to preview the relevant styles.

- After selecting, you will see the uploaded and selected clinic icon in the top left corner of the updated receipt style. Then click “Update” to go back to the modification mode.
- Back in the modification mode, click on “Certificate Styles”.
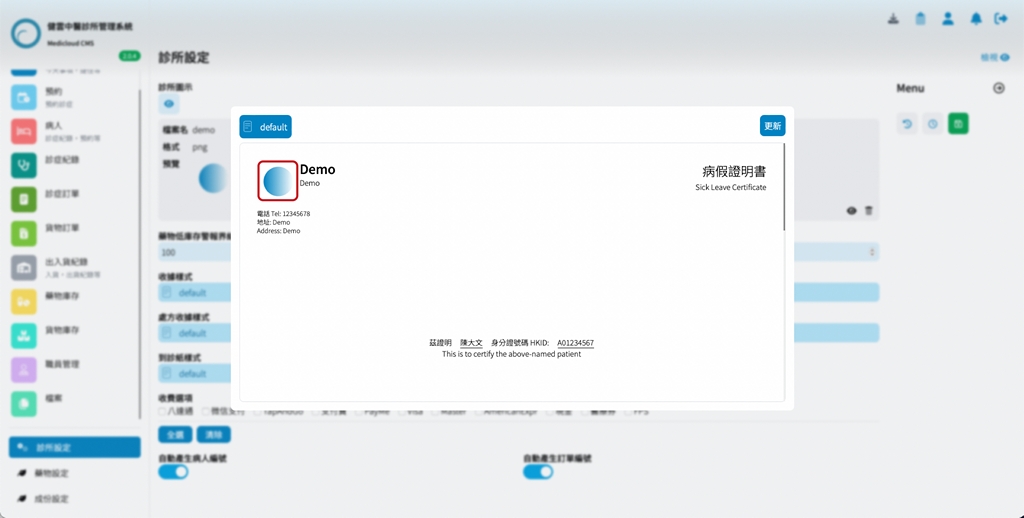
- After clicking, a window will pop up showing various certificate styles. You can click to preview the relevant styles.
- After selecting, you will see the uploaded and selected clinic icon in the top left corner of the updated certificate style. Then click “Update” to go back to the modification mode.
- Once back in the modification mode, click the “View” button in the top right corner to return to the “Clinic Settings” preview page.